
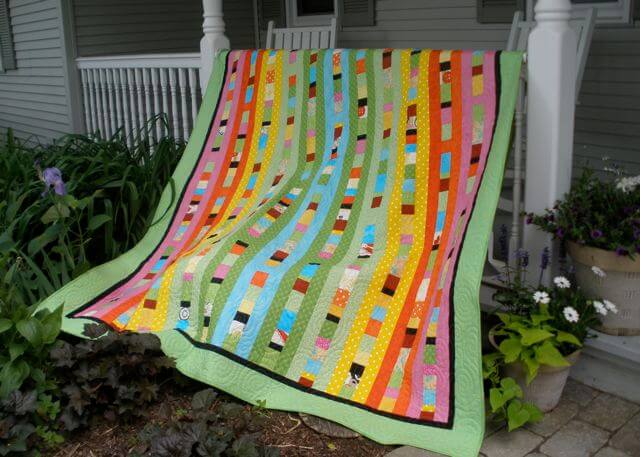
Quilt to Give: Step Four—Stitch the Patchy Center Columns
Welcome to the fourth step in creating a Quilt to Give. So far in this charity-quilting journey, you’ve learned the following steps:
• Sort fabric from your stash.
• Cut the columns and patchy strips.
• Stitch the outside column sections.
It’s time to create the patchy center columns.
- During the lesson on the second step, you cut 50–55 crosswise strips for a double, or 60–65 for queen, or 70–75 for a king sized quilt in a variety of widths—1-1/2″–3-1/2″.

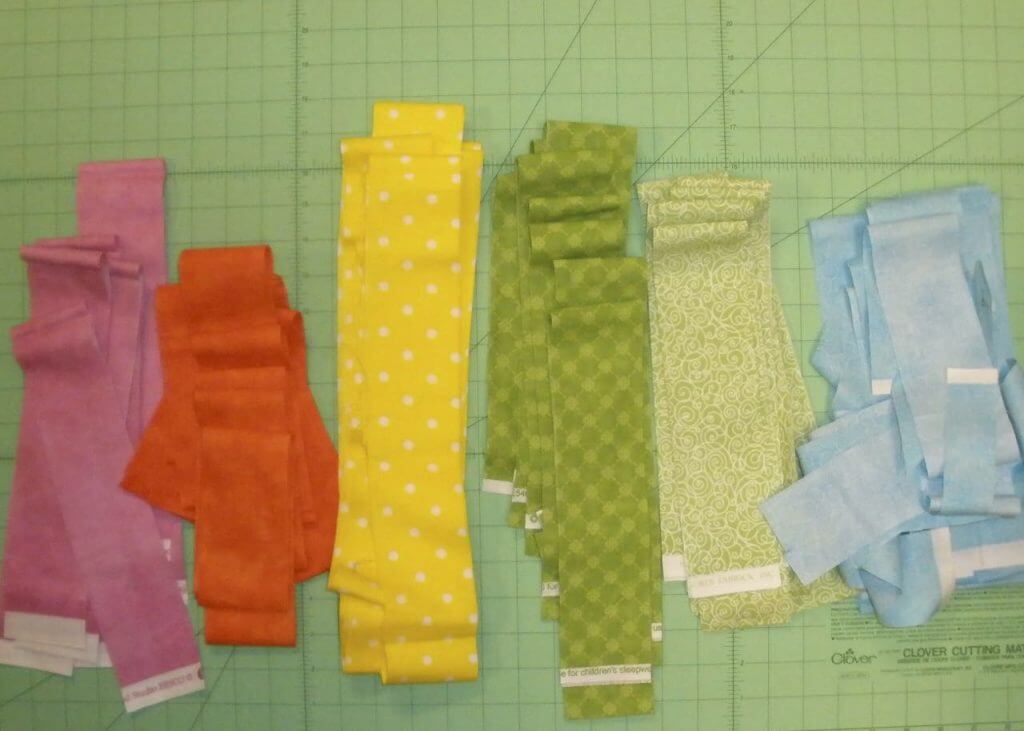
- Pair up all strips, choosing contrasting color and/or prints as pairs.


- Stitch one long edge of each strip pair, using the standard ¼” seam. Chain stitch from one pair to the next. After stitching, clip the threads between the stitching.
- Press the seam allowances toward the darker color.


- Next, stitch two pairs together. There will be four strips in a strata. Create attractive color combinations.

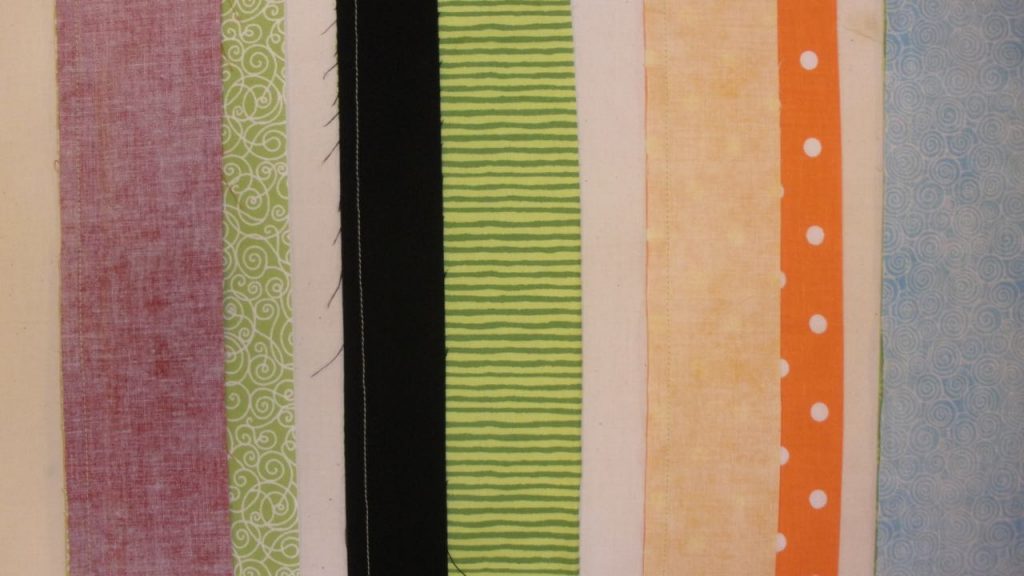
- Repeat stitching strip sections together until you have four equal strata sections with 12 strips
- Important: Measure length of each strata. The combined length must equal 82″ It might be necessary to add an additional pair of strips to one strata to achieve the needed length.

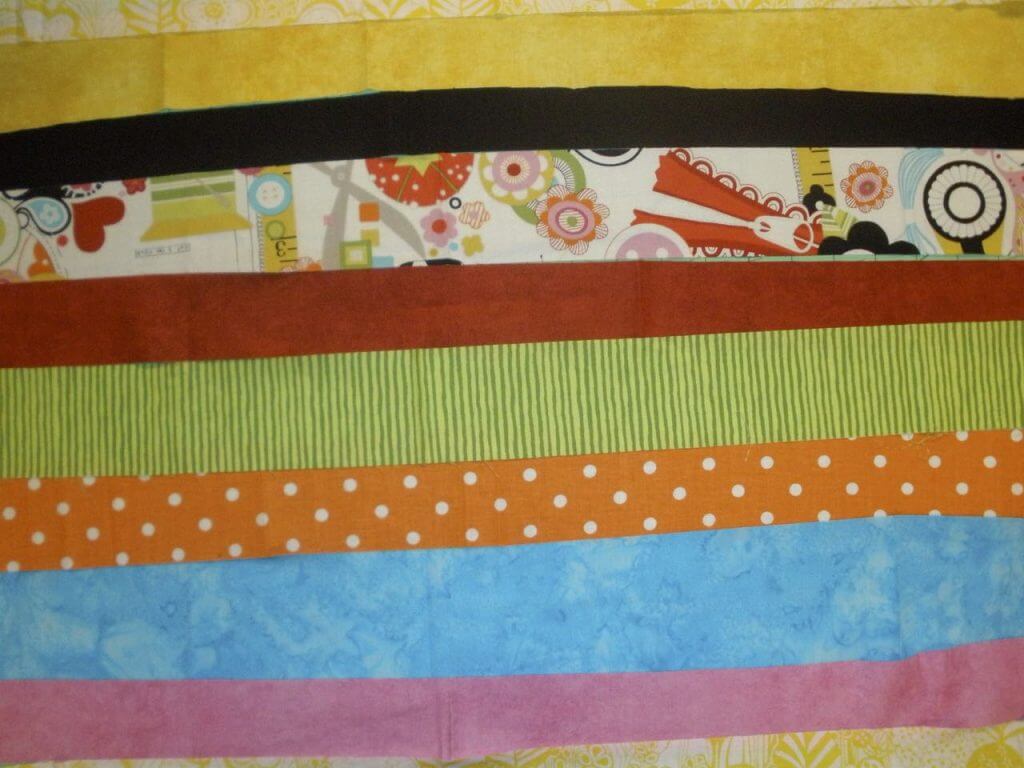
- Stack two strata sections. Straight cut the left edge. Subcut the stratas into 2-1/2″ sections. Repeat for the remaining strata sections.

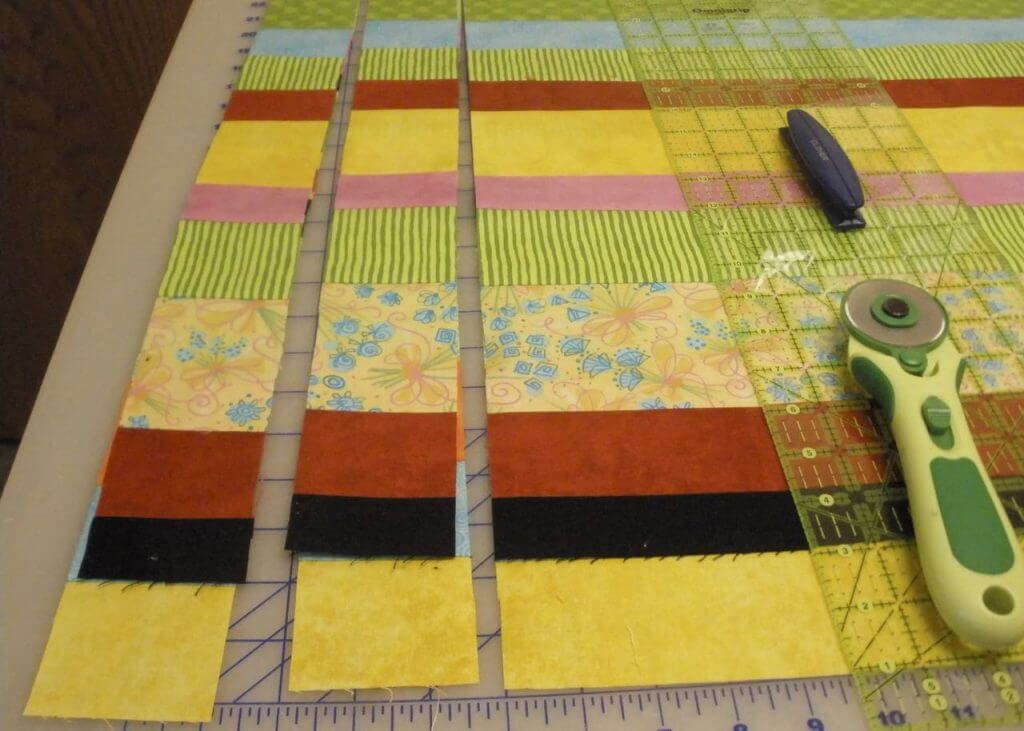
- Stack like subcuts.

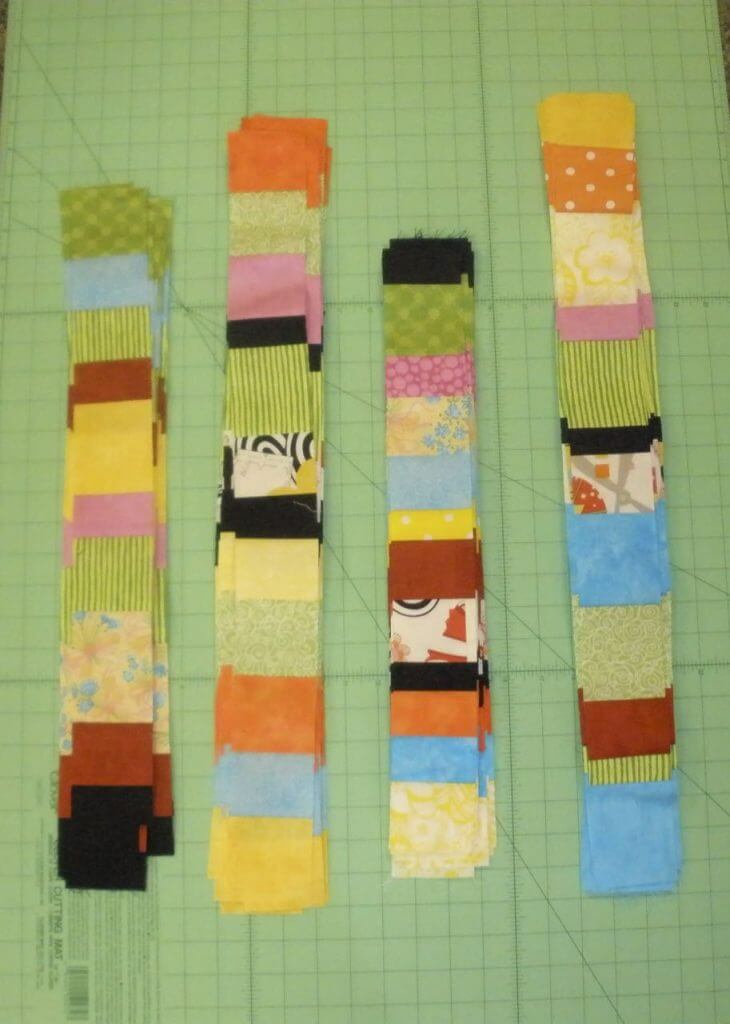
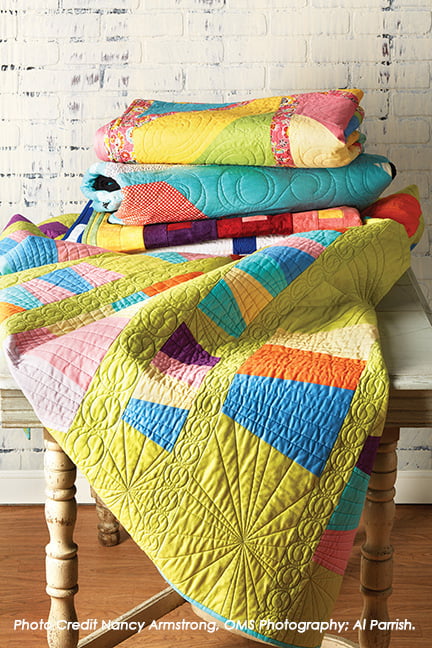
- The finished quilt features a different patchy section in the middle of each column. To achieve that result, select a subcut from each of the four stacks.
- Stitch the subcuts together, end-to-end. With each patchy column, switch the order of assembling the subcuts. For example, one time stitch the subcuts together in the following sequence: 1-2-3-4.
- Next time stitch in a different order: 2-1-4-3. You get the idea. You can even turn a subcut upside down for another configuration.
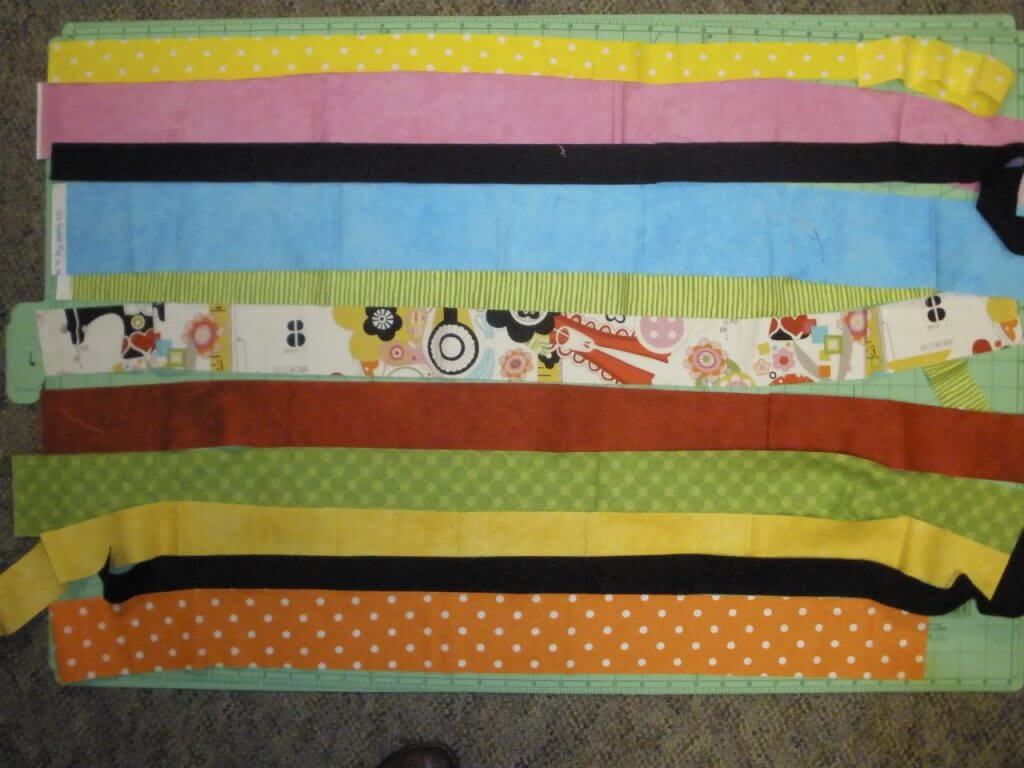
- Lay out all the patchy columns on a cutting table or floor. Mark with a safety pin at the top edges, to indicate the top of the strip.

That’s it for Step Four! Remember, the goal is to have fun, use up your scraps, create an attractive, bed-sized quilt, and give it to someone who really needs it—preferably someone you’ll never know but who has suffered great lose due to a tornado, fire, flood, or home loss.
Share this information with your friends and then start a quilt!
Step Five is next. Here are links to all the steps:
Step 1—Sort out fabrics from several stashes
Step 2—Cut column strips and center patchy strips
Step 4—Stitch the patchy center columns
Step 9—Layer and quilt your creation
Quilt for Others with “Quilt to Give” Learn how to set-up and organize a Quilt to Give Event.
The gift is in the giving!
Team Nancy Zieman
Nancy Zieman Productions. LLC.
![]()
Stitch it! Sisters is a production of NZ Productions LLC. Content in this feed is © copyright 2021 by Nancy Zieman Productions, LLC and may not be republished without written permission. You’re welcome to forward the email to a friend or colleague but it’s not okay to add the RSS feed automatically as content on a blog or other website. The FTC requires us to tell you that Nancy Zieman Productions, LLC has provided products by other companies in the course of doing business. The FTC requires us to advise you to take this information into consideration when reading this posting.


Sharon
Great quilt. Love the combination of colors and patterns.
Debbie
Starting a Beginners Quilt class. Looks like a perfect project for individuals and as a group!